
One of the truly unique features of dbWatch is its integrated SQL Worksheet, which, although simple in operation has some sophisticated applications, including cross-database queries.
The SQL Worksheet is not developed from a developer-centric perspective and therefore doesn’t include many developer-oriented features such as code optimization or analysis features.
It is meant to give responsible DBA’s the ability to locate any problems and correct them, without having to switch between a multitude of tools (same SQL Worksheet for all supported databases).
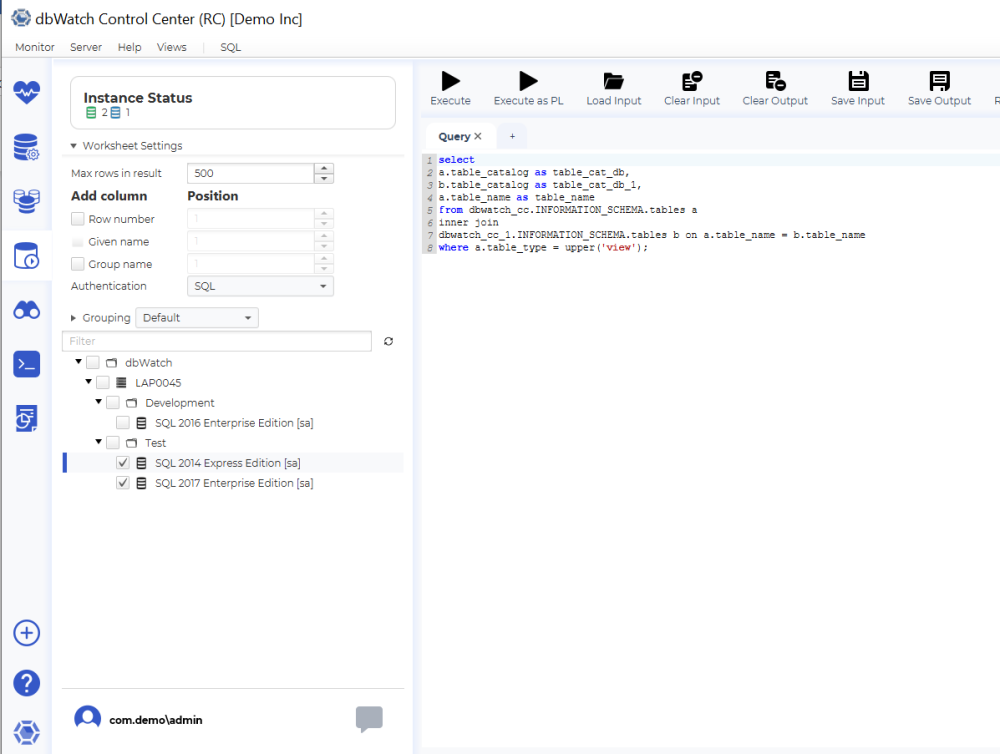
The toolbar along the top of the SQL Worksheet allows you to load and save SQL queries from file and save the output to file.
The tree on the lower left side lets you select among all the instances that are available in Control Center. On the right side of the window shows the query tab for you to write your queries.
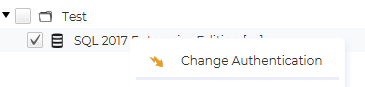
First let us select an instance, for example the “SQL 2017 Enterprise Edition” instance. You can access the “Configure Authentication” by right clicking the instance and clicking “change authentication.”
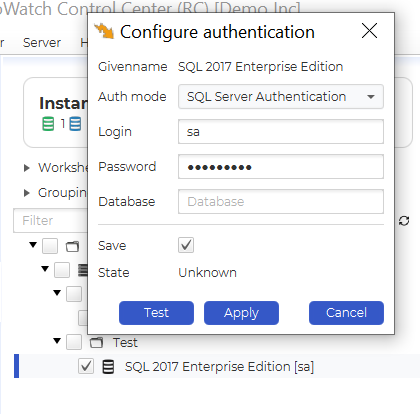
After that, input the login credentials. You can opt to specify the default database or not. For our example, we’ll keep it blank and specify it in the query.
Notice that the current login is shown in the square brackets after the instance name.
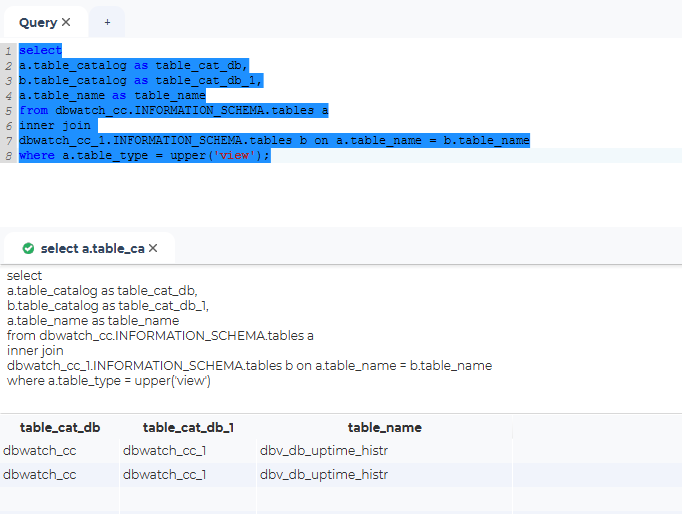
Next, lets type in a simple query to execute.
For example, I would like to check what view tables were installed in dbWatch_cc_1 and dbWatch_cc_2. I’ll input the query below:
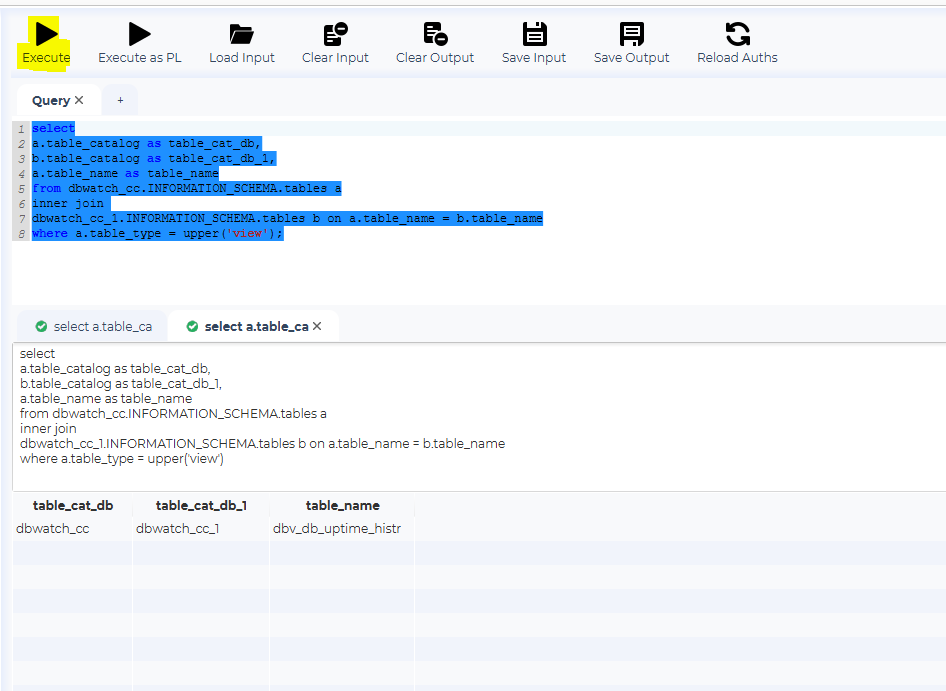
So far everything is as expected. The result appears neatly in the lower window and the summary of the query is found over it.
Now let’s try one of the cool features of the SQL Worksheet. When we select an additional instance in the instance tree, and hit Execute.
You will now see two rows in the resultset, one from each instance. But we don’t know which row is from which instance. This leads us to another feature.
Control Center can add 3 columns to the resultset. A row number, the given name and the group name for the instance the row belongs to. Click on “Given name” in the view above the instance tree, and execute the statement again.
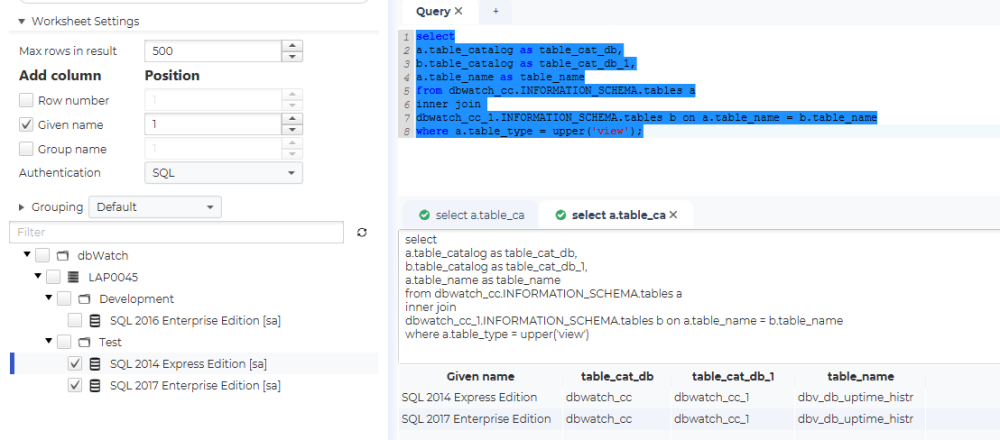
You now see that the given name appears as the first column.
The example only returns one row per instance, but there are no limits on what types of results you can merge in this way. The only requirement is that all instances must return the same number of columns. Go ahead and play around with it yourself to see more of this amazing feature.
Result formating
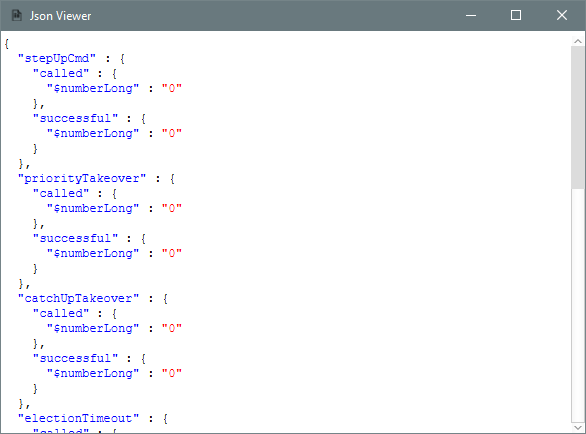
Some databases return results in JSON format. When this is the case it is possible to right click on a cell and select “View as JSON”.

This will open a view with the cell content formatted as JSON.
Post your comment on this topic.