Reports
Before proceeding to this topic, you must be familiar with generating a report. You can check it out by click on the link.
Customizing your Report by changing the logo and Company Name
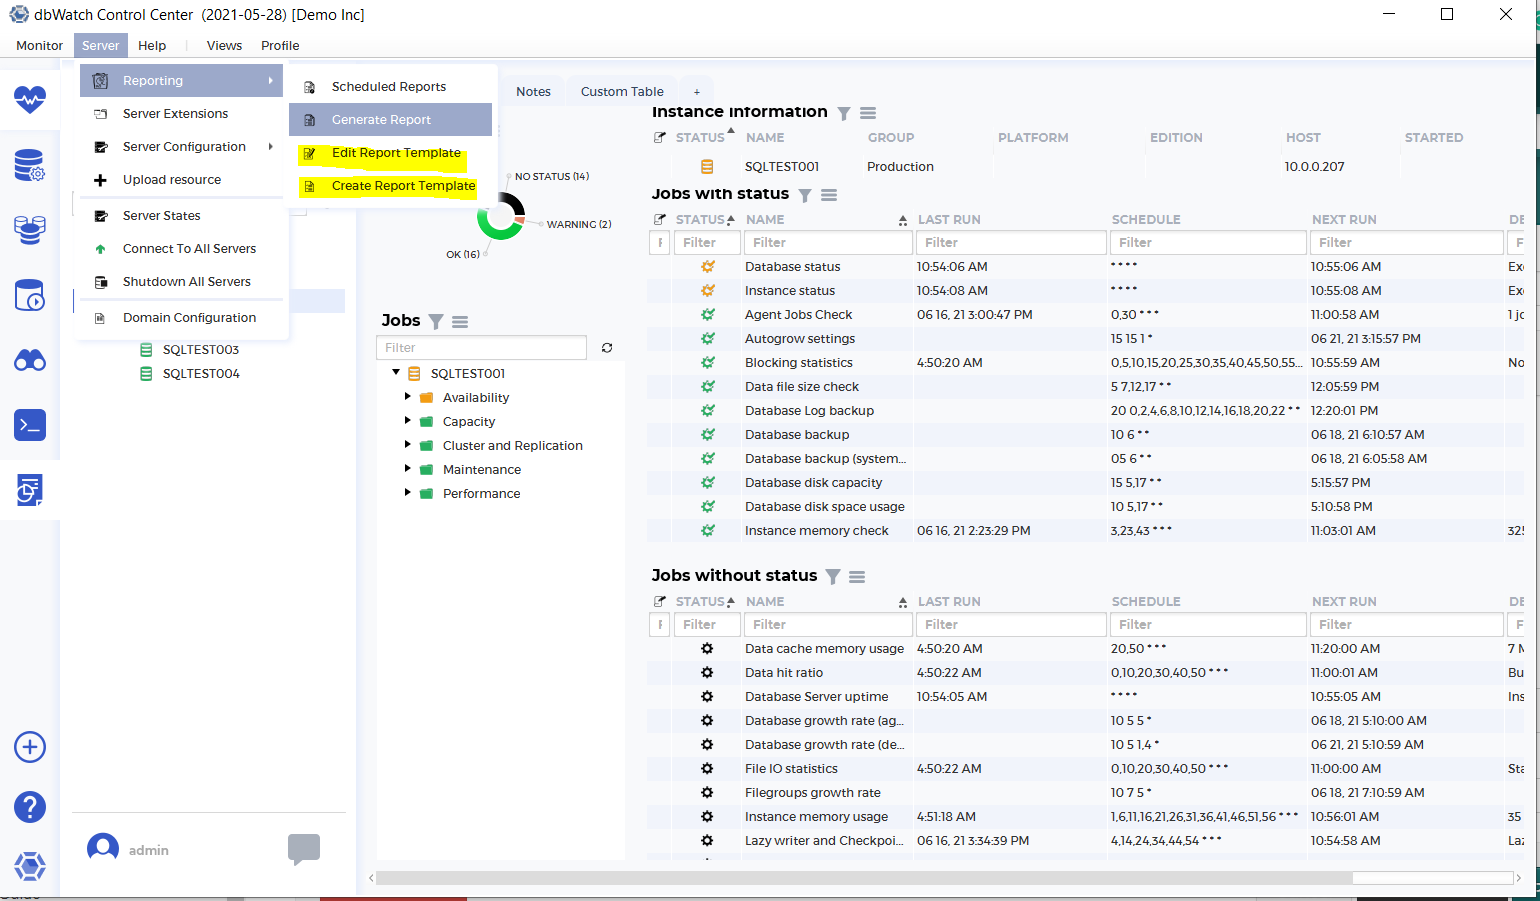
To customize, your report. First click “Server” on the upper ribbon of your dbWatch. Then, hover over “Reporting”. You can select to either create or edit a template. For this process, we will focus first on creating a template. The processes are similar to each other.
Creating a Report
Click on “Create Report Template”. A window will appear asking you to specify the name of the template.
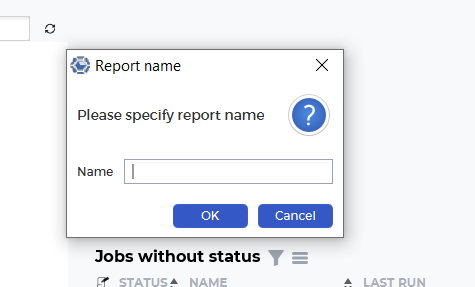
We’ll name the template as testtemplate. Once you clicked, OK, a window will appear. You can edit the template in this window.
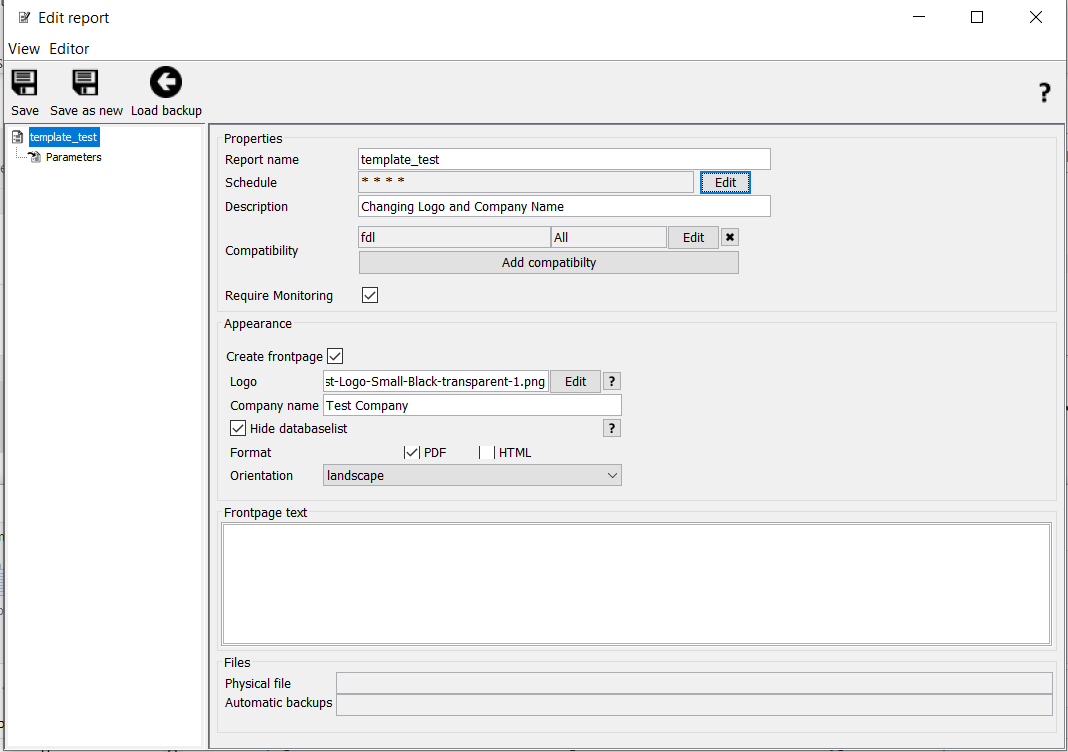
To edit the logo, click the “Edit” button in line with the Logo label. A window showing all images of logos will appear. You can either upload the logo or copy the logo image to C:\Program Files\ControlCenter\server\resources\report. Take note that that’s the default destination directory of dbWatch Control Center. You should know what your default directory should be to manually add an image.
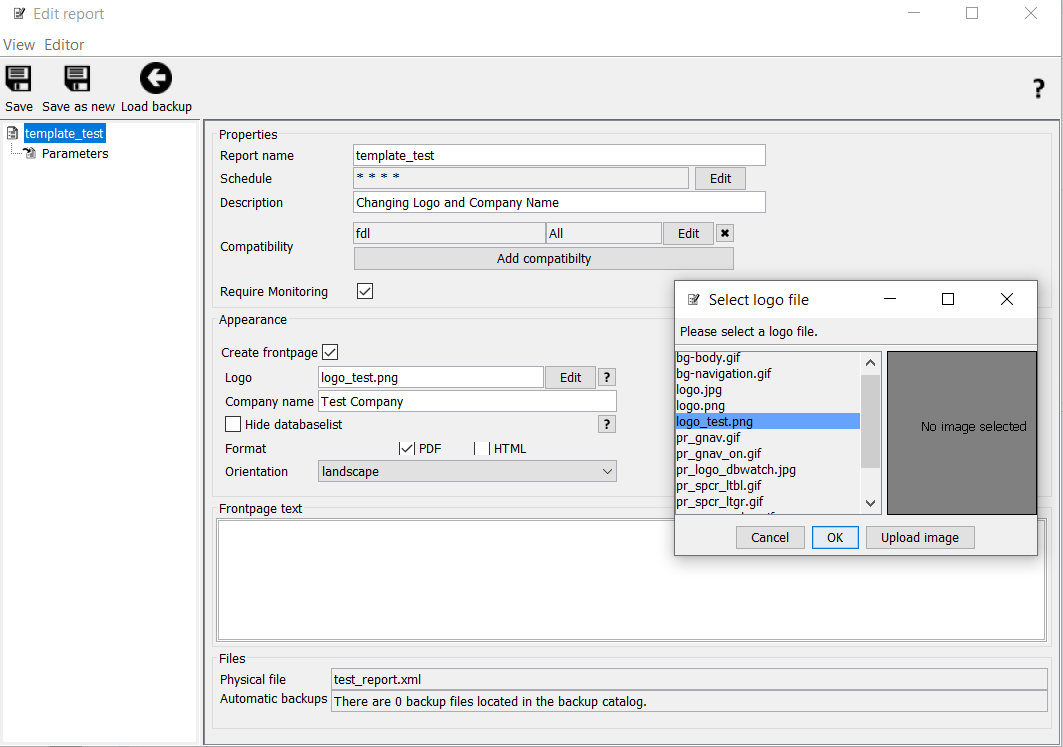
p(banner important).You can manually drag the logo image from one directory to another. The logo should appear in your list of choices.
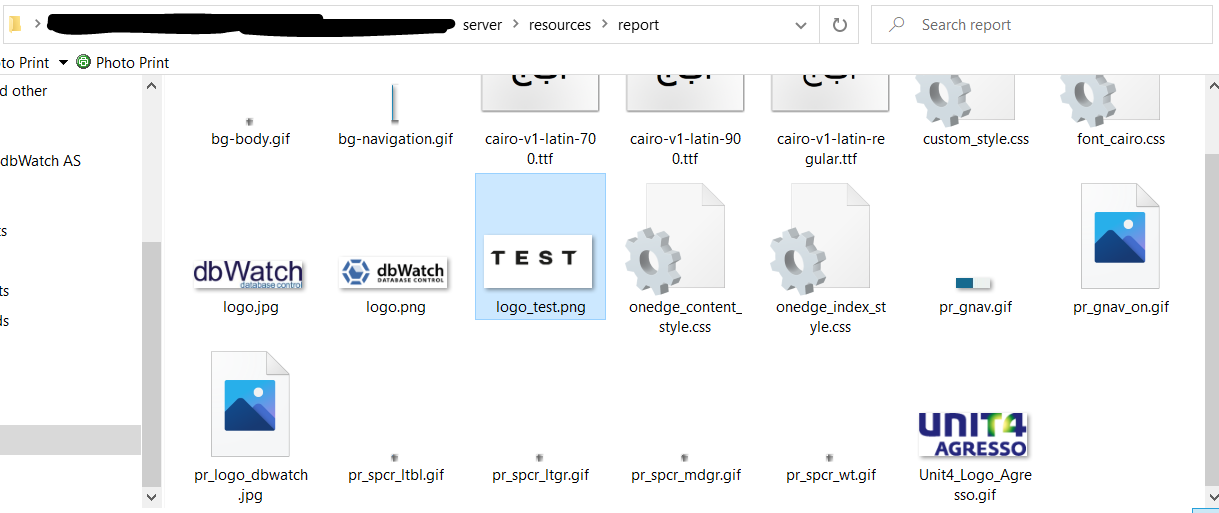
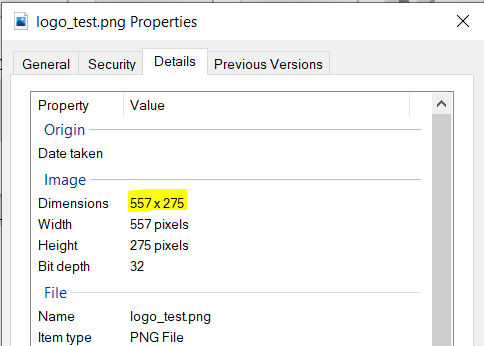
After adding the logo image, provide the organization’s name in the field Company Name. Change the other settings base on what you need. Click “Save” or Editor > Save.
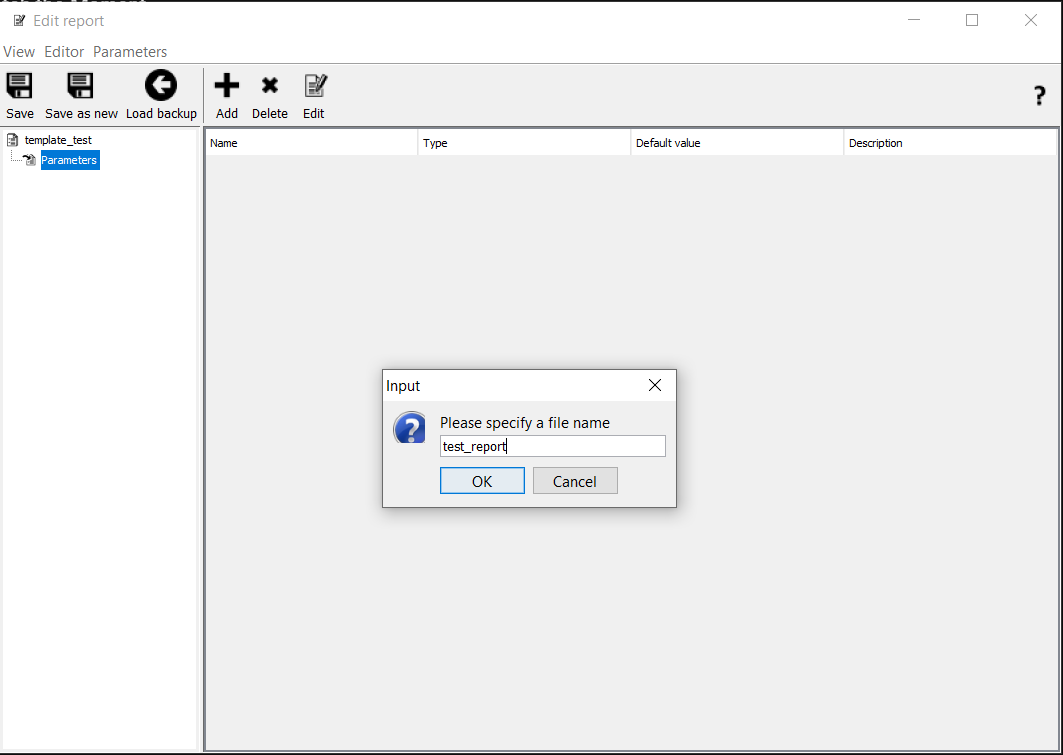
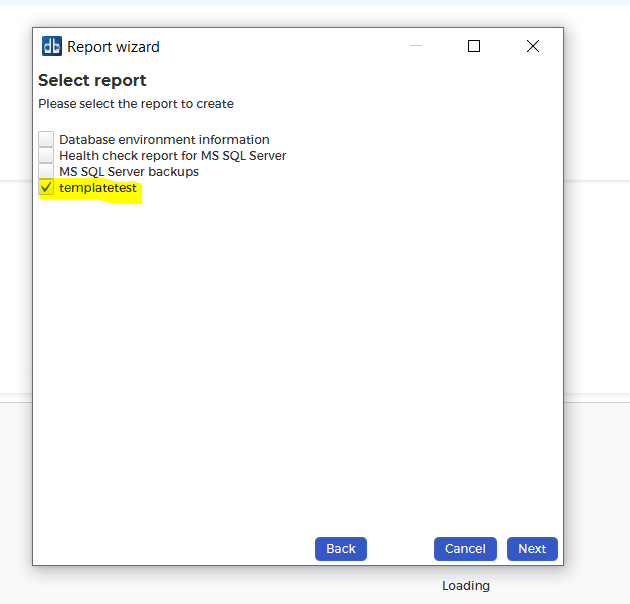
Provide the Physical Filename of the template. Click “OK” and you’re done. To Test if your report is working, click on the Reporting Module and go to the steps of generating a report.
You can see the changes in the Logo and Report once it’s generated:

Editing a report
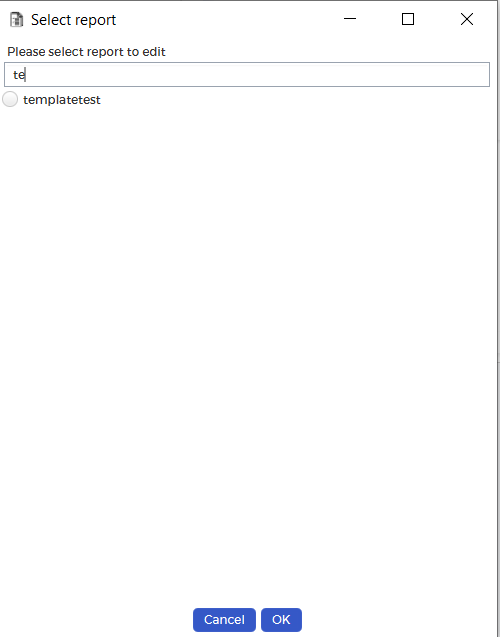
Editing a report is similar to creating one. The only difference is that you need to select an existing report before proceeding. Once you clicked on “Edit Report Template”, you will see the window below:
Follow all the steps in the previous section to edit the report. There’s little difference when editing a template.
