Installing on Windows
dbWatch Server Prerequisites
- Windows Server (VMWare virtual server or AWS EC2 supported)
- Windows Server 2008, 2012, 2016, 2019, and 2022
- Windows 10 or Windows 11
- 8 GB RAM
- 4 CPU cores
- 10 GB hard drive space
dbWatch Engine Prerequisites
- 500 Mb free space in each database instance
- SQL Performance module (extra cost) requires additional space, around 5 GB
- Engine – Server communication determined by each supported database platform.
- Bulk install for large database environments
- Installs in under 2 minutes per instance
dbWatch Client Prerequisites
- Windows operating system with a graphical interface
- Windows Server 2008, 2012, 2016, 2019, and 2022
- Windows 10 or Windows 11
- 10 GB hard drive space
- 8 GB RAM
- 4 CPU cores
- Mouse
- Java support (Java runtime is included in the installation)
- Client-Server communication requires a single port only
- Client is installed automatically during Server installation
Download
The latest version of dbWatch Control Center can be downloaded by registering here
Step-by-step installation
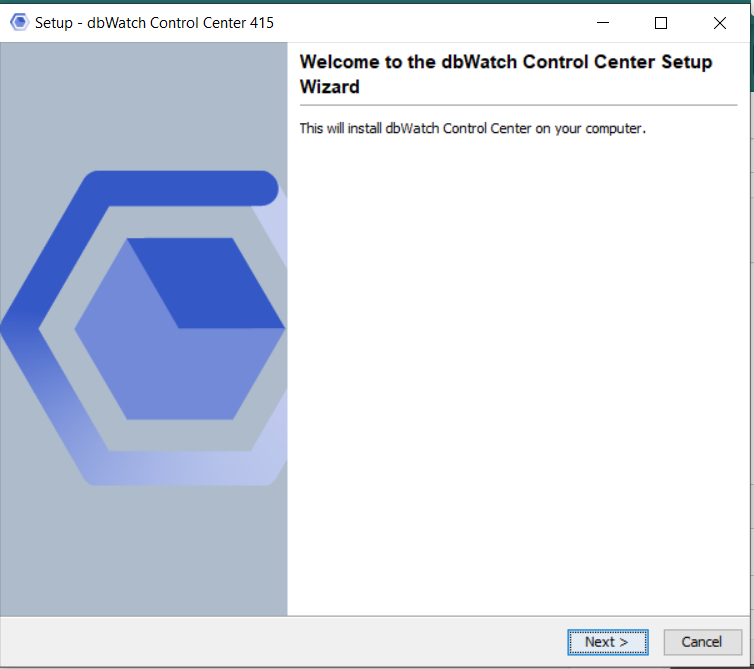
Open the download file and run the program. You will be greeted by the start screen of the Installation Wizard.
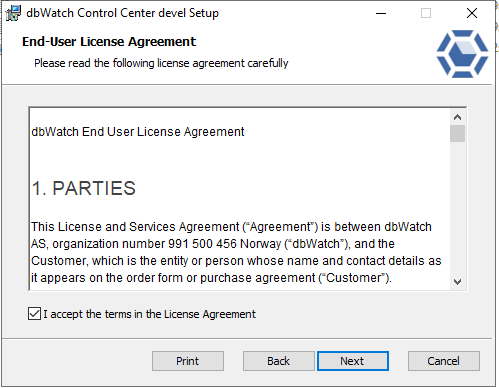
Next you will be asked to accept the EULA.
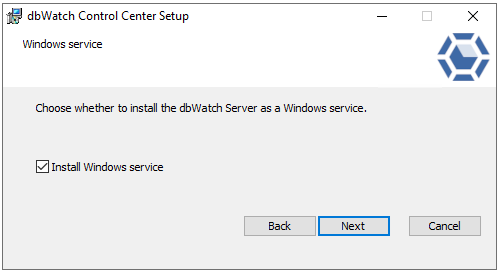
Choose if you want to install the dbWatch Server. (Unless this is a clean GUI install you always want the Server).
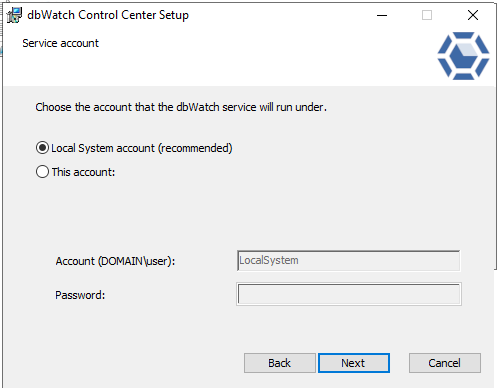
Next choose what account to run the dbWatch Service as.
Next choose the directory where you want to install dbWatch Control Center.
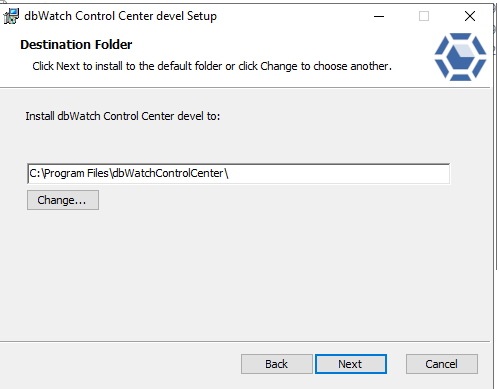
Next choose the port that the dbWatch Server should accept incoming connections on, and the directory where dbWatch Control Center will place it workarea (this will include config files, log files, certificates and so on).

You are now ready to install.
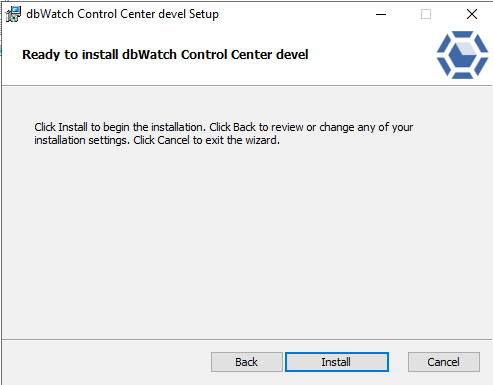
Sit back and wait.
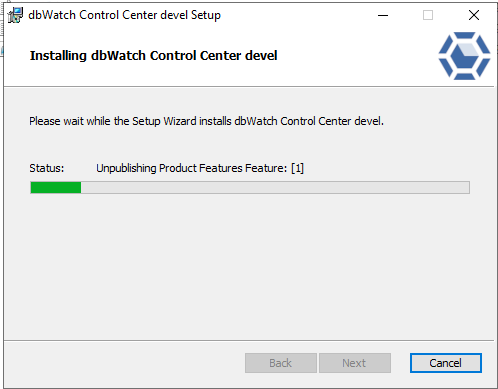
The installation has now been completed successfully.
What To Do Next
If this is the first installation, you will be greeted with the Inital Domain Setup when launching the Monitor.
Quick Fixes
If you’re encountering service problems that relate to credential errors, here’s a quick way to deal with them. Open “Services” on your computer. You can type “Services” in the search bar.

Start running the service. Highlight the equivalent of “Dbwatch Control Center”. This was defined earlier in your installation process.
Right-click and click “Start.
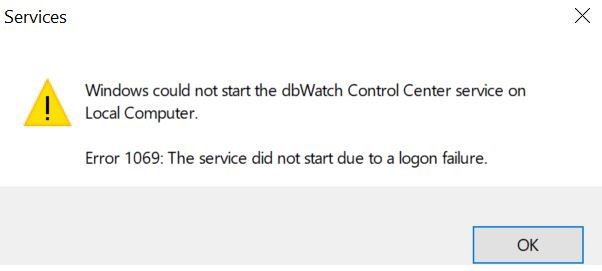
If this error above appears, the credentials you inputted were incorrect. To fix this, right-click on the highlighted services again and select properties. A window of properties will show up. Select the tab “Log On” then select Log on as Local System account. This only works if CC is installed locally.
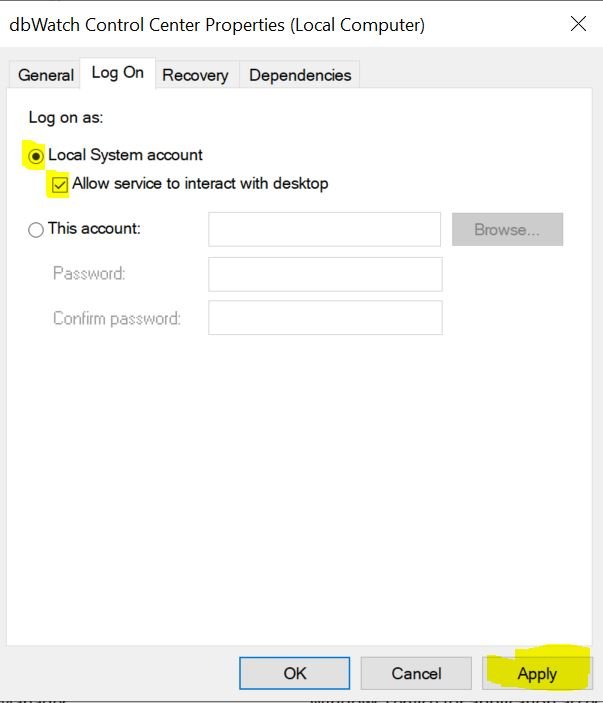
Click “Apply” and re-run the services. You should be able to start your dbWatch services without a problem.
Once it is installed, the next step is Initial domain setup