Adding a MongoDB Instance
How to get here
To open the “Add Instance Wizard”, click on the “Plus (+)” sign on the bottom left of the dbWatch Client.
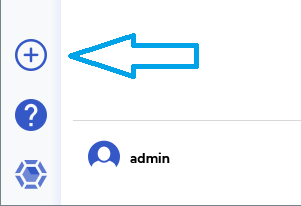
This will bring up the “Add Instance” wizard, which will guide you through the following steps.
Select Instance Type and Input Connection Details
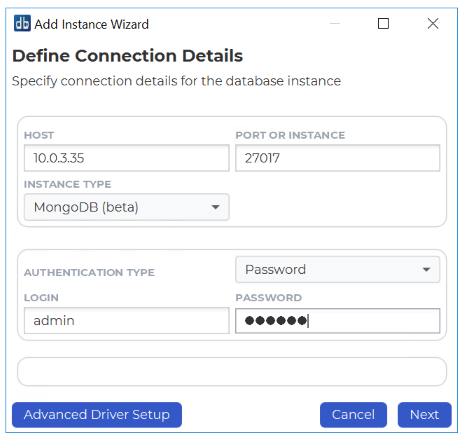
The Host info is the hostname or ip address of the MongoDB server.
The Port is the port number where the MongoDB service is listening (default: 27017).
dbWatch will attempt to select the correct instance type based on the entered port number. If the instance type is wrong, select MongoDB in the drop down.
MongoDB can be configured with or without TLS/SSL encryption.
Prerequisites (TLS/SSL)
If the MongoDB instance requires TLS/SSL encryption, the dbWatch Control Center server must trust the CA certificate used by the MongoDB server certificate.
Import CA Certificate into dbWatch Keystore
dbWatch Control Center uses the Java truststore located here:
C:\Program Files\dbWatchControlCenter\jre\lib\security\cacerts
Import the CA certificate into the truststore before adding the MongoDB instance in dbWatch.
For details about importing certificates into the dbWatch keystore, see:
Import Certificates into dbWatch Keystore
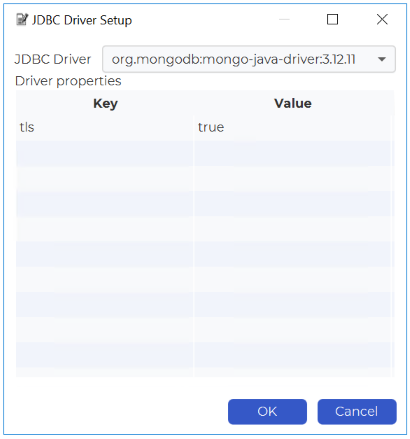
To connect using TLS/SSL, open Advanced Driver Setup and add driver properties.
Required property for TLS:
Key: tls
Value: true
By default dbWatch will select the most appropriate JDBC driver for the database instance. It is possible to select a specific JDBC driver and set driver properties by clicking on Advanced Driver Setup.
Click “OK”.
Select Monitoring Configuration
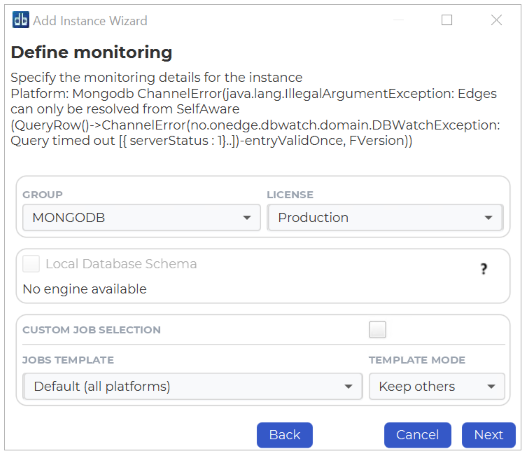
Specify the group and license for the instance. Default groups are Development, Test and Production, but you can easily create and customize your own groups based on your requirements.
You can stick with the jobs that are selected by default or customize the selection as needed.
Click “Next”.
Define Module authentications
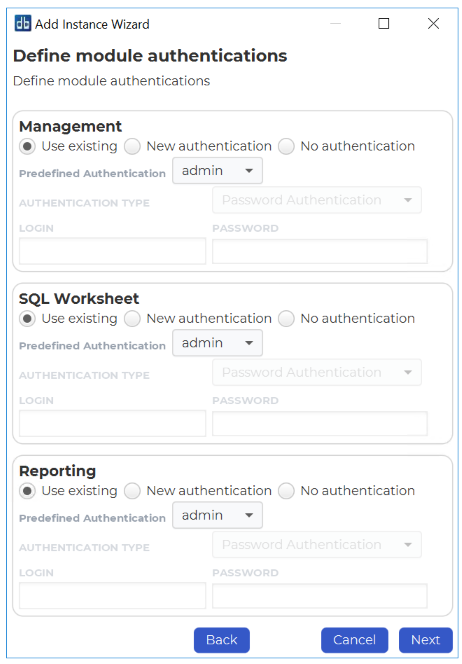
Within this window you have an option to choose which credential to use for each module within dbWatch.
You can use the existing user or select a new user with password authentication.
If you’ve finished specifying a credential for each module, click “Next”.
Instance Installation
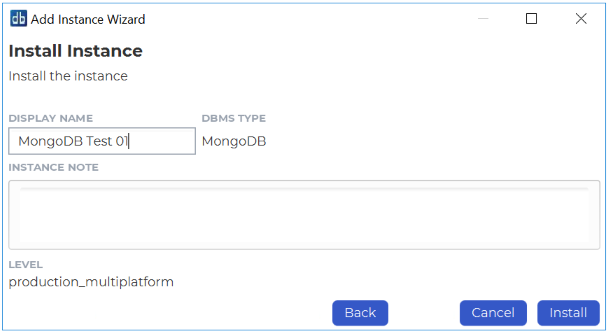
Specify a display name for this instance. You can also provide a description or any relevant information you want to remember about this instance.
Click Install to start installing.
Underneath you will see the status of various jobs being installed.
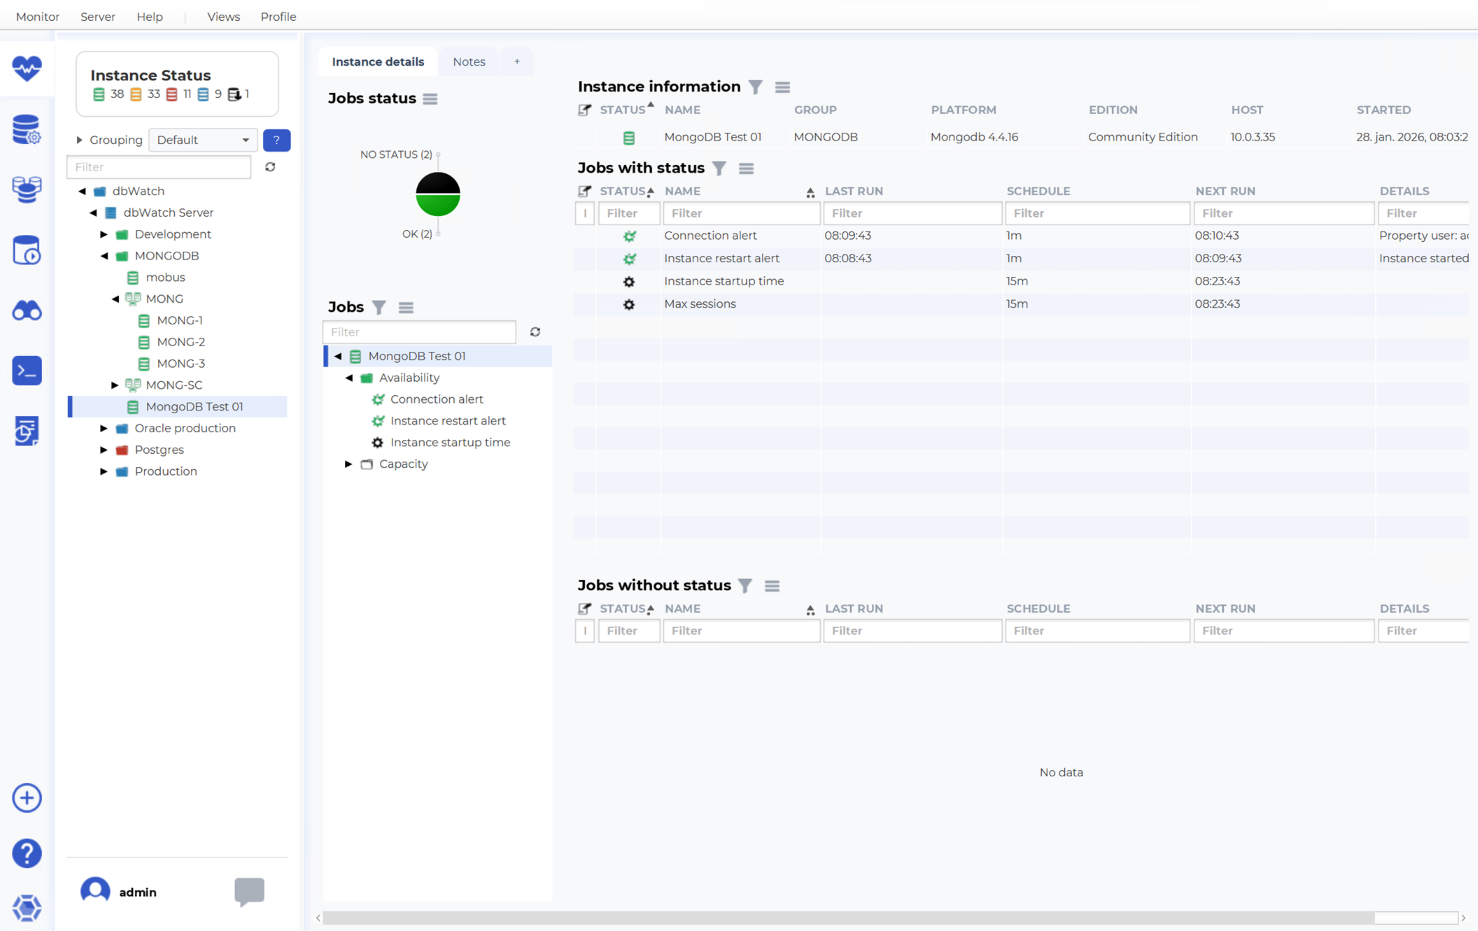
We’ve now successfully added the MongoDB instance in our dbWatch monitor.
Troubleshooting
TLS/SSL errors
If dbWatch fails to connect using TLS/SSL, verify the following:
The MongoDB server is configured for TLS/SSL and allows client connections.
The correct CA certificate has been imported into the dbWatch Java truststore:
C:\Program Files\dbWatchControlCenter\jre\lib\security\cacerts
The driver property is set:
tls=true
The MongoDB server certificate is valid for the hostname/IP used in the dbWatch instance configuration (SAN must match).
Firewall / Network access
If the MongoDB server is protected by a firewall, ensure that the dbWatch server can reach the MongoDB port (default: 27017).