
dbWatch Server Prerequisites
- Windows Server (VMWare virtual server or AWS EC2 supported)
- Windows Server 2008, 2012, 2016, 2019, and 2022
- Windows 10 or Windows 11
- 8 GB RAM
- 4 CPU cores
- 10 GB hard drive space
dbWatch Engine Prerequisites
- 500 Mb free space in each database instance
- SQL Performance module (extra cost) requires additional space, around 5 GB
- Engine – Server communication determined by each supported database platform.
- Bulk install for large database environments
- Installs in under 2 minutes per instance
dbWatch Client Prerequisites
- Windows operating system with a graphical interface
- Windows Server 2008, 2012, 2016, 2019, and 2022
- Windows 10 or Windows 11
- 10 GB hard drive space
- 8 GB RAM
- 4 CPU cores
- Mouse
- Java support (Java runtime is included in the installation)
- Client-Server communication requires a single port only
- Client is installed automatically during Server installation
Download
To download Control Center, register your email, and you will be redirected to our landing page. Click the link to be redirected to the Control Center’s installer page: “dbWatch Control Center Release”: Download the latest dbWatch Control Center by registering here
Step-by-step installation
Open the download file and run the program. You will be greeted by the start screen of the Installation Wizard. Make sure you are running as Admin otherwise, this may block your system from installing the application. Alternatively, you can run the file via the command line.

After you do so, you will get the following window, where you see the opening page of the installer. Click Next.

You’ll arrive at the page where you can set the destination directory.

After clicking “Next,” you will be directed to the next page of the installation process. Here, you can tick the selection you need.

- Install Monitor – Install the latest file path for Control Center monitor.
- Create shortcut for all users – Short cut for monitor will be available in your desktop
- Terminal server settings – Define domain and port for Control Center. Skip this when you don’t need to define a port.
Select the installation options you want and click “Next”.

This is the window where you specify the credentials that will be used to run your dbwatch service.
If you just want to install the client software, Control Center Monitor, you can untick “Install Service” here. It’s also possible to change the default port for ControlCenter, and configure the service for Control Center. By ticking “Advance”, two additional boxes and input fields show up. If you don’t need to specify the Service ID, you can skip that segment. If you don’t want to replace the old service running or start the Dbwatch Control Center, you can untick them.
If you do not choose to create a service, the Server can still be started in console mode. Click “Next” to continue.

This page gives you the option to create a shortcut to your start menu. Untick the box if you don’t want to create a shortcut. Click “Next” to proceed with the summary.

You are now ready to install dbWatch. Check the information displayed and click “Next” if they are correct.

The installation should take less than a minute on a typical computer.

The installation has now been completed successfully.
What To Do Next
If you did not start the Monitor directly, you need to start it manually. This is located under “All Programs”->”dbWatch Control Center”->”Monitor ” in the start menu on Windows.
When the Monitor starts for the first time, it will launch the “DomainLogin” dialog and try to find a Server at localhost port 7100. If your Server is at a different host or port, enter the correct URL. When it is able to connect, it will display the “Configure Server” dialog.
When you start your new dbWatch installation, you will be prompted with the “Add database” wizard. For information about how to add a new database, see the “Instance management chapter under “Using Control Center”.
Quick Fixes
If you’re encountering service problems that relate to credential errors, here’s a quick way to deal with them. Open “Services” on your computer. You can type “Services” in the search bar.
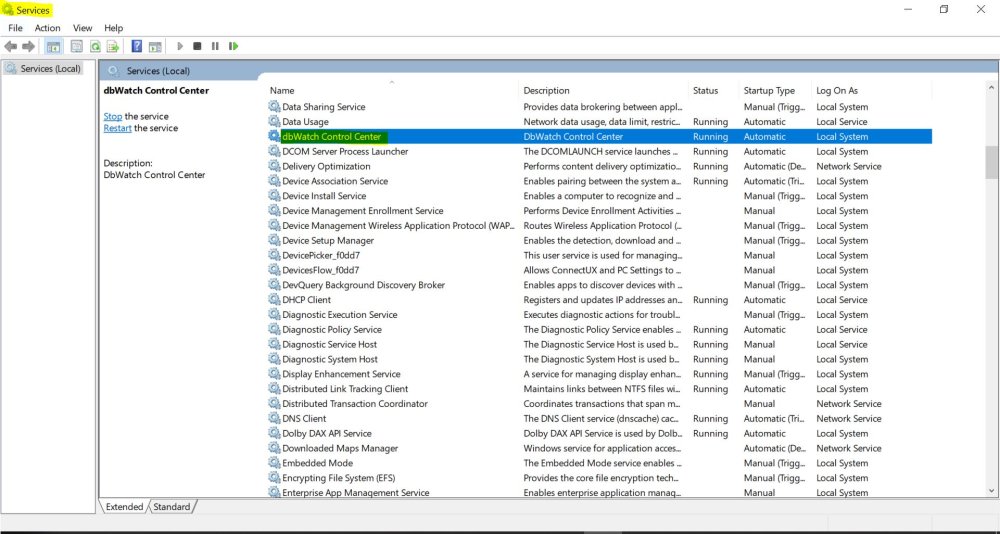
Start running the service. Highlight the equivalent of “Dbwatch Control Center”. This was defined earlier in your installation process.
Right-click and click “Start.
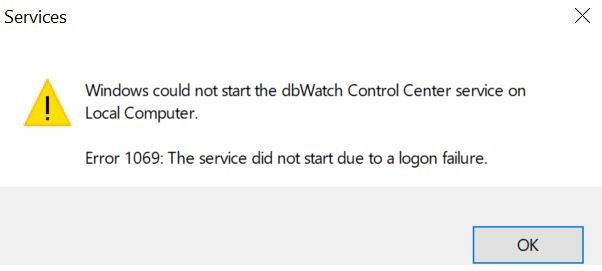
If this error above appears, the credentials you inputted were incorrect. To fix this, right-click on the highlighted services again and select properties. A window of properties will show up. Select the tab “Log On” then select Log on as Local System account. This only works if CC is installed locally.
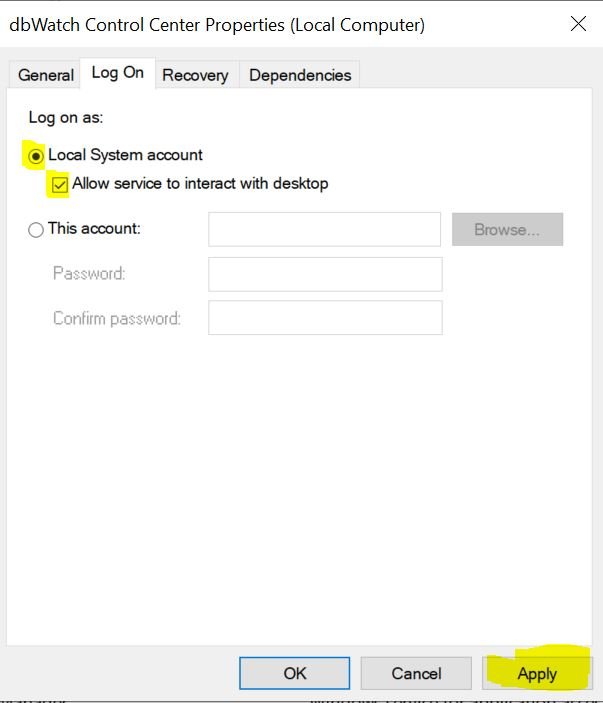
Click “Apply” and re-run the services. You should be able to start your dbWatch services without a problem.
Once it is installed, the next step is Initial domain setup
Post your comment on this topic.